The first two installments of this series have only used LEGO® train track pieces officially offered by the LEGO® company. We observed several times that the geometry of these pieces can be limiting to those who want more realistic trains or more complicated layouts. For this reason, a small industry of third-party manufacturers has appeared in recent years. Companies such as TrixBrix and BrickTracks are offering 3D-printed and/or injection-molded wider-radius curves, modified switches, and other pieces of custom LEGO®-compatible train track. But what does all this mean to the beginner? Are these pieces worth buying if you're just starting out? Let's cover the possibilities that all these custom track pieces unlock, so you, the reader, will have the information to decide for yourself!
DISCLAIMER: Some LEGO® enthusiasts are "purists" in the sense that they refuse to acknowledge, much less use, third-party pieces, nor are they willing to modify existing LEGO® parts. My viewpoint is this: companies that directly copy LEGO® designs, produce them in a lower quality and sell them as competition to LEGO® are bad. Companies that produce parts that LEGO® themselves do not manufacture (including track pieces, weapons, stickers and printed bricks, etc) that enhance and add to the official product line are acceptable. If you consider yourself a hard-and-fast purist, this article may be worth skimming, but otherwise, we'll see you in the next post in the series!
Wide-Radius Curves
When we talk about the Radius of a curve, we are referring to the distance from the middle of the track to the center of the theoretical circle created by that section of curved track. That is, the term "radius" applies to all curved track, not simply track that has formed a complete circle. The standard LEGO® curve track has a radius of 40 studs, commonly referred to as R40 for "Radius: 40." The image below shows how the radius is measured in bricks, or studs.
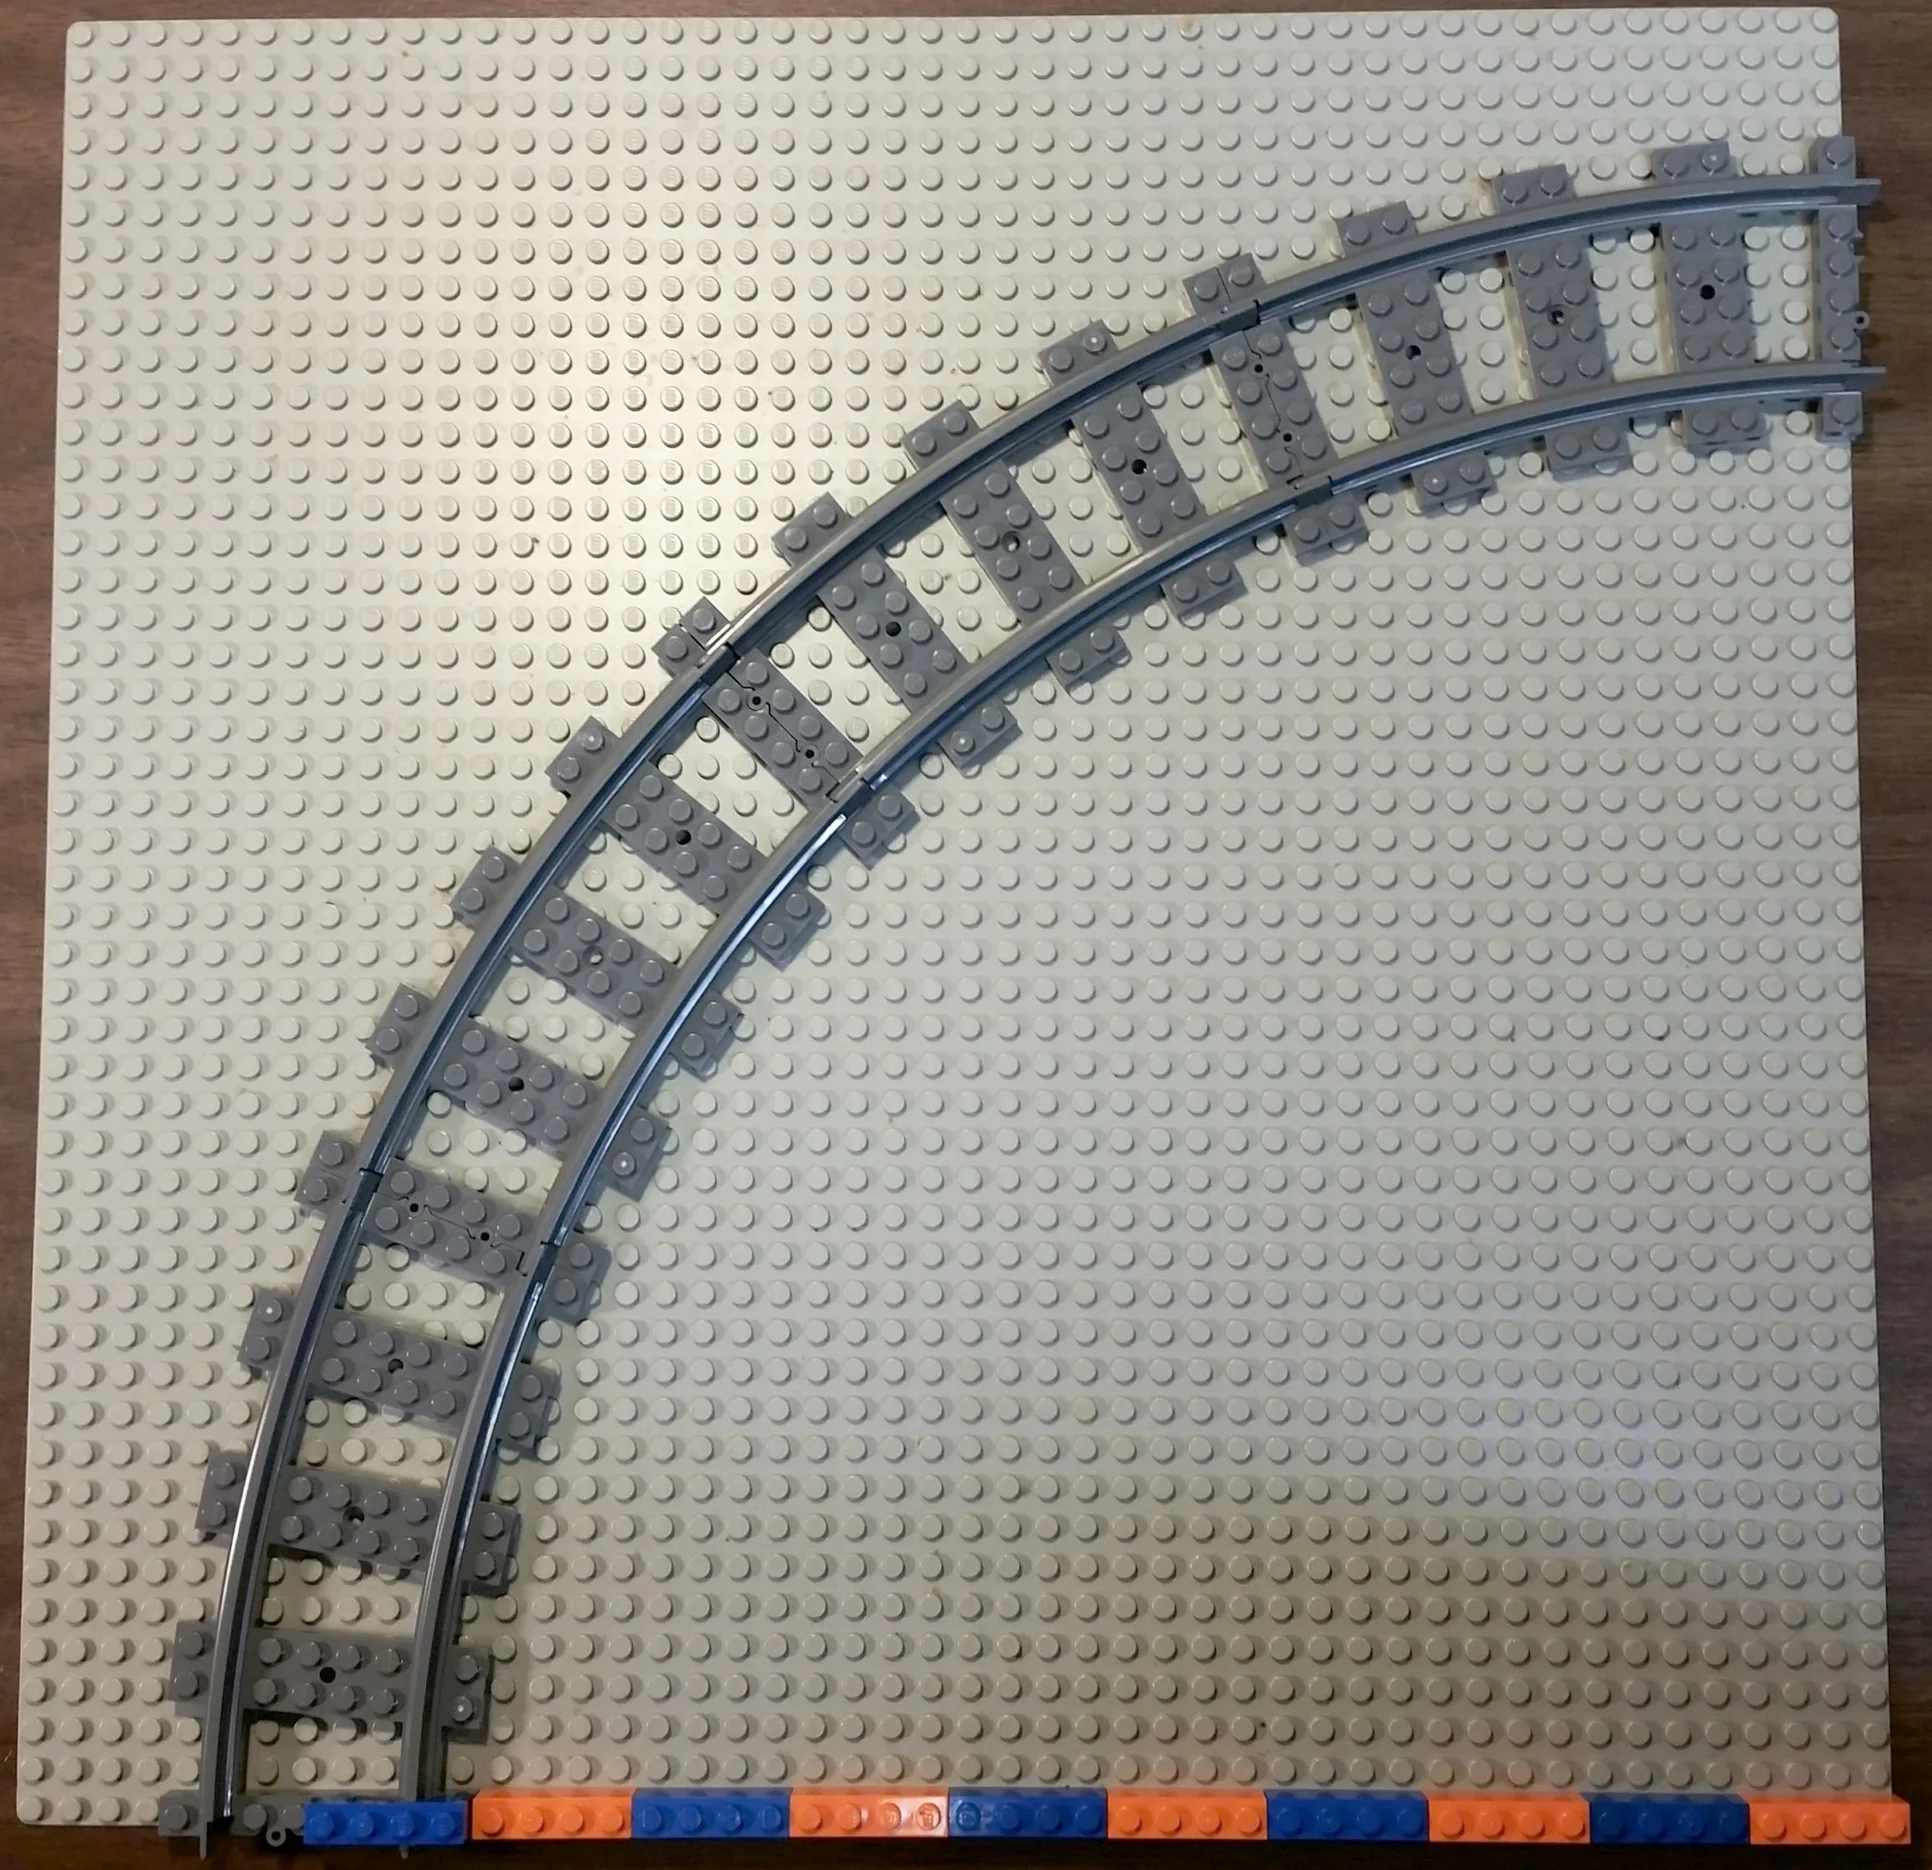
The distance from the center of the circle of track to the center of the rails is 40 studs, measured by the orange and blue 4-stud long bricks.
While this tight curvature is handy for building a complete loop of track in a relatively small space (relatively small compared to other large-scale model trains, that is), the small radius is A: not very realistic, and 2: doesn't allow for longer rolling stock. Official LEGO® trains are almost always under 32 studs long (the length of two pieces of track) which means the engines and cars are usually far too short to look prototypical. There is some discussion over the exact scale proportions of LEGO®, but the general consensus is that 6-stud-wide rolling stock is too narrow to be realistic. This is why many serious model builders create 7-stud-wide or 8-stud-wide trains (or more!), because it is a more realistic proportion to the 6-stud track gauge. However, a modern American passenger coach is 85 feet (or 26 meters) long. A LEGO® model of such a car could be 60 studs long or more. This would look ridiculous on an R40 curve, and in fact, may not even traverse such a tight corner without binding or derailing. Enter the wide-radius curve!
This image shows a half-circle made of standard LEGO® curves in the center, surrounded by half-circles made up of wider-radius curves. The number after the "R" refers to the radius of each curve, measured in studs. The size of each individual piece of curved track is shown in the lower right. For comparison, the radius of 40 is equivalent to 12.6 inches, or 32 cm. The radius of 104 is equivalent to 32.8 inches or 83.2 cm. Remember that the radius is measured from the center of the rails, not the inside or outside edge of the curve. I have only shown radii up to 104 in this image, but R120, R136, and R152 can be found as well.
LEGO® User Groups, LEGO® Train Clubs, and other LEGO® Train enthusiasts who build larger models can be seen utilizing wider-radius curves for their public display layouts. The upshot is that the realistic-length rolling stock looks better and runs smoother on the large curves. The disadvantage is the amount of space they take up. To a beginning LEGO® Train fan, these curves may not seem useful, but here are two applications I can think of that may entice the novice layout builder:
In this image, we see a quarter-turn of R88 curves on the left, and a quarter-turn of R40 curves on the right. The R40 design uses six straight pieces to fit the same space as the R88 curves. Using R88s in this instance would provide a gentler curve for the trains, as well as saving on straight track; a valuable resource!
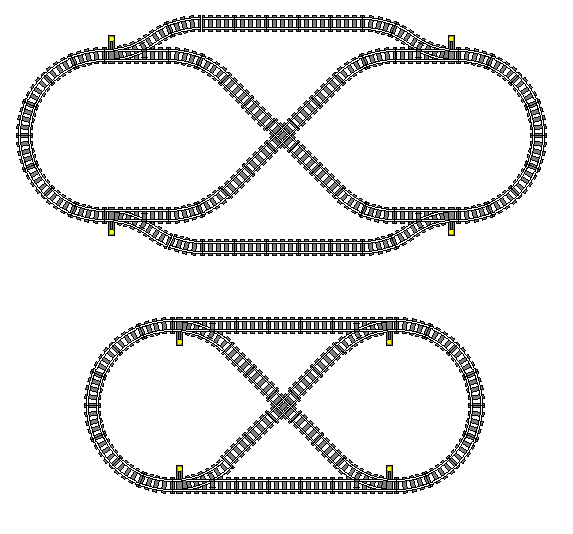
The outer loop of this double-track layout uses R56 curves on the left side of the plan. On the right, both inside and outside loops use R40 curves. Note that the right side of the layout requires four more straight tracks to fit the outer loop curves around the inner loop. One might also argue that the curves on the left side of the layout are more aesthetically pleasing.
Although we won't explore their application in this article, it's also worth pointing out the existence of "grand curves," which are made by using straight track pieces with one side of the connection spaced half a stud apart. The effective radius of a grand curve is 238 studs (6.25 feet, or 1.9 meters); most likely far too wide for the casual hobbyist, but very enticing to clubs displaying at Expo centers with plenty of space to build such large corners.
Custom-Cut Switches
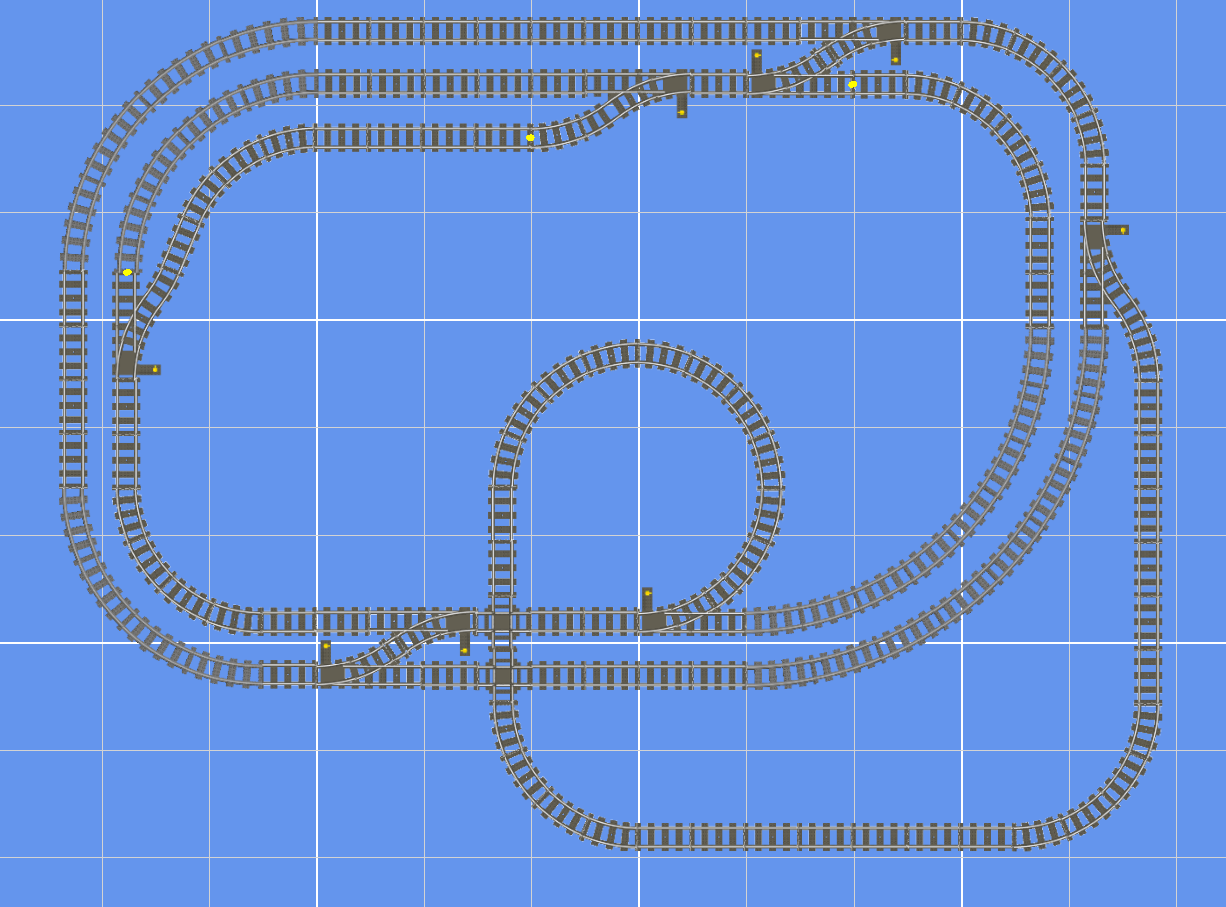
The keen eye may have noticed in the last track plan example, the switches at the bottom of the plan didn't fit together like standard LEGO® switches. That is because they are custom-cut "Crossover" switches, which have their diverging route trimmed and/or adjusted to allow for more potential track arrangements. Here are a few examples of custom-cut switches:
Shown above, across the top, are four types of LEGO® train track switches. On the left is a standard switch with the oblique diverging route, which accommodates connecting a curved piece to create two parallel tracks, as shown in the lower right. The next switch over on the top row is typically called a "half-curve" switch. The diverging route has been cut off with part of a piece of curved track glued on to replace it (or perhaps it has been 3D-printed in this shape), which means the diverging route equals two R40 curves. Add two more R40 curves as shown below it, and you have a 90-degree turn without having to use extra curves or straights to accommodate the oblique diverging route of a standard switch! Third from the left on the top row is a "crossover" switch. Consisting of two sets of points connected at their diverging route, this piece functions the same as the larger crossover discussed in the previous installment of this blog, however it takes up far less space, as shown in the lower right of the image. Finally, we have a stub-end switch, which can be used as any type of custom switch, depending on what sort of custom track pieces you attach to the diverging route.
With the advent of the plastic track, it is actually fairly easy to cut and glue your own custom switches at home. This process is more difficult with metal-rail 9V track, and to my knowledge has rarely been attempted with the older 4.5V and 12V styles of track. I may put up a set of instructions for creating your own custom switches in a future workshop blog post. For now, I will caution the beginning user against cutting and gluing their own custom switches UNLESS 1: you have enough switches that you can afford to sacrifice one or two to turn into a custom switch (I would recommend having at least two pairs of standard switches in addition to any custom switches you may buy or build), or B: you are 100% certain that you need this custom switch piece in your limited track collection.
Some third-party manufacturers have released these types of custom switches with the "throw" mechanism on the outside of the track, or the opposite side from the diverging route, which some builders may find desirable depending on how their layouts fit together. In addition to the custom-cut switches shown above, one can find wide-radius switches as well as "wye" switches or three-way switches. Check out the manufacturer websites linked at the beginning of this article for more information. We'll cover some more example uses of these custom switches at the end.
For what it's worth, LEGO® DID manufacture a double-crossover switch, set number 7996, for a couple of years at the beginning of the current plastic-track era. While appearing novel at first, it was a considerable flop. Most families (read: the demographic with the strongest LEGO® purchasing power) weren't buying enough track to justify the need of such a specific-use piece in the first place, and because the two sets of points at each end shared a yellow switch throw, it was impossible to set both routes for the "straight" direction. This meant that you could not use this piece to connect two loops and have them operate independently; one set of points would be set for the diverging route whether you liked it or not. Third-party manufacturers have since released more versatile and less expensive versions(available listings for set 7996 are priced well past $100 USD on reseller sites) of this switch style.
The short-lived, official double-crossover switch from LEGO®. Note how the pairs of points at each end share a switch throw. Even on the box art, it shows that one set of points is straight while the other is set for the diverging route. Very poor design. Image sourced from amazon.com
Half-Curves and Half-Straights
While the advent of the flexible track section (4-studs long, equivalent to a quarter-length of a standard LEGO® track piece) has made half-pieces somewhat obsolete, builders in 9 Volt and other systems may find that cutting a piece of track in half comes in handy for certain track arrangements, or perhaps turning a stub-end custom-cut switch into a half-curve or crossover.
Crossings
No, not grade crossings, where the railway meets a roadway; two train tracks crossing each other! In previous lines of LEGO® Trains (read: 9V, 12V and 4.5V) the LEGO® Company offered 90-degree crossing tracks, as shown below. While no official product has been released for the new plastic track, one can find crossing tracks made by the third-party manufacturers listed at the beginning of this article, or sometimes homemade versions on sites like eBay. It is also possible to build your own 90-degree crossing using four pieces of flex tack and some other LEGO® bricks you may have in your collection. Do a bit of Googling to see which method you like best!
Note that this 9 Volt 90-degree crossing track is the equivalent of a 16-stud straight track piece for both routes.
Now that we've established a larger toy box of potential parts, let's put some of these custom track sections to use in a handful of example layouts!


If you haven't read the first two installments in this series, they can be found by scrolling down through my Workshop Blog page or Archive page. The fourth installment, which applies all our knowledge so far into actually designing a home layout, can be found here. If you'd like to be notified of when future installments in this series are posted, please follow me on my Facebook page or Instagram account. As always, thank you for reading!